


How to roast a whole chicken in a Ceramic Dutch Oven for juicy, crispy results
Why Roast Chicken in a Dutch Oven?
Here’s the thing: roasting a whole chicken in a Dutch oven is almost like having a cheat code for dinner. The heavy lid and thick walls lock in heat, and if you’re using a ceramic-coated one, it’s even better for trapping moisture and spreading that heat out nice and evenly. The result? You keep way more of the good stuff (I’m talking juices!) inside your chicken than if you just toss it on a tray. We’re talking up to 30% more moisture, which basically means no more choking down sawdusty breast meat ever again [3]. Plus, it’s nearly impossible to burn your chicken into oblivion. And who hasn’t done that once or twice?
Common Mistakes That Make or Break Your Roast Chicken
Let’s be honest: we’ve all rushed the prep or cut a few corners at dinner-time. But a few little moves—or misses—can totally tank your roast. Here are the ones I've learned to watch out for:
- Skipping the step where you dry the skin like you mean it. Damp skin = rubbery results, always.
- Roasting at too low a temp just “to be safe.” It’s a trap.
- Forgetting to let the chicken rest—that’s how you lose all those precious juices on the cutting board instead of in your dinner.
- Not trussing the bird (wrangling those legs and wings). If you skip it, you get weirdly undercooked and overcooked spots. Not fun.
Step-by-Step: How to Roast a Whole Chicken in a Dutch Oven
Let’s break this down. Here’s how you get a perfect, juicy bird without drama.
-
Prep the Chicken
First thing, haul that chicken out and get rid of the giblets. (Either use or toss ‘em—totally up to you.) Pat it bone-dry. Seriously, pretend you’re applying for a job as a towel.
If you really want next-level skin, season the bird and leave it uncovered in the fridge overnight. It sounds extra, but it makes a difference. -
Season Generously
Don’t hold back. Salt, pepper, paprika, thyme, sage—mix what you love. Get the blend under the skin where possible. That’s where the flavor magic happens. -
Stuff and Truss
Cram the cavity with a halved lemon, a head of garlic, some fragrant herbs. Then, tie the legs and tuck the wings so the chicken is all snuggled up and cooks evenly. -
Prepare the Dutch Oven Base
Scatter carrots, onions, and potatoes on the bottom. Toss ‘em in butter and a little salt. If you’re using a ceramic-coated Dutch oven, you’ll notice how the veggies get golden (and don’t stick or burn). And they’ll soak up all the chicken-y goodness, too. -
Apply Fat for Crisp Skin
Butter or olive oil, your call, but be generous. Get it over—and under—the skin if you can. This is how you’re getting that to-die-for color and crunch. -
Roasting Sequence
Preheat everything (lid included) to 400–425ºF. Place your chicken breast-side up on top of the veggies.
- Cover and roast for 35–75 minutes (big size gap, I know—but that’s the reality; smaller bird, less time)
- Then, lid off, crank up to 425ºF, and give it that final 20–40 minutes blast until the skin is deep golden and your thermometer tells you the thigh is 165ºF.
-
Rest and Serve
This is important. Give it 10–15 minutes of “you time” on the counter, uncovered. Juices go back where they belong. Then carve it up and serve with those luscious, savory veggies.
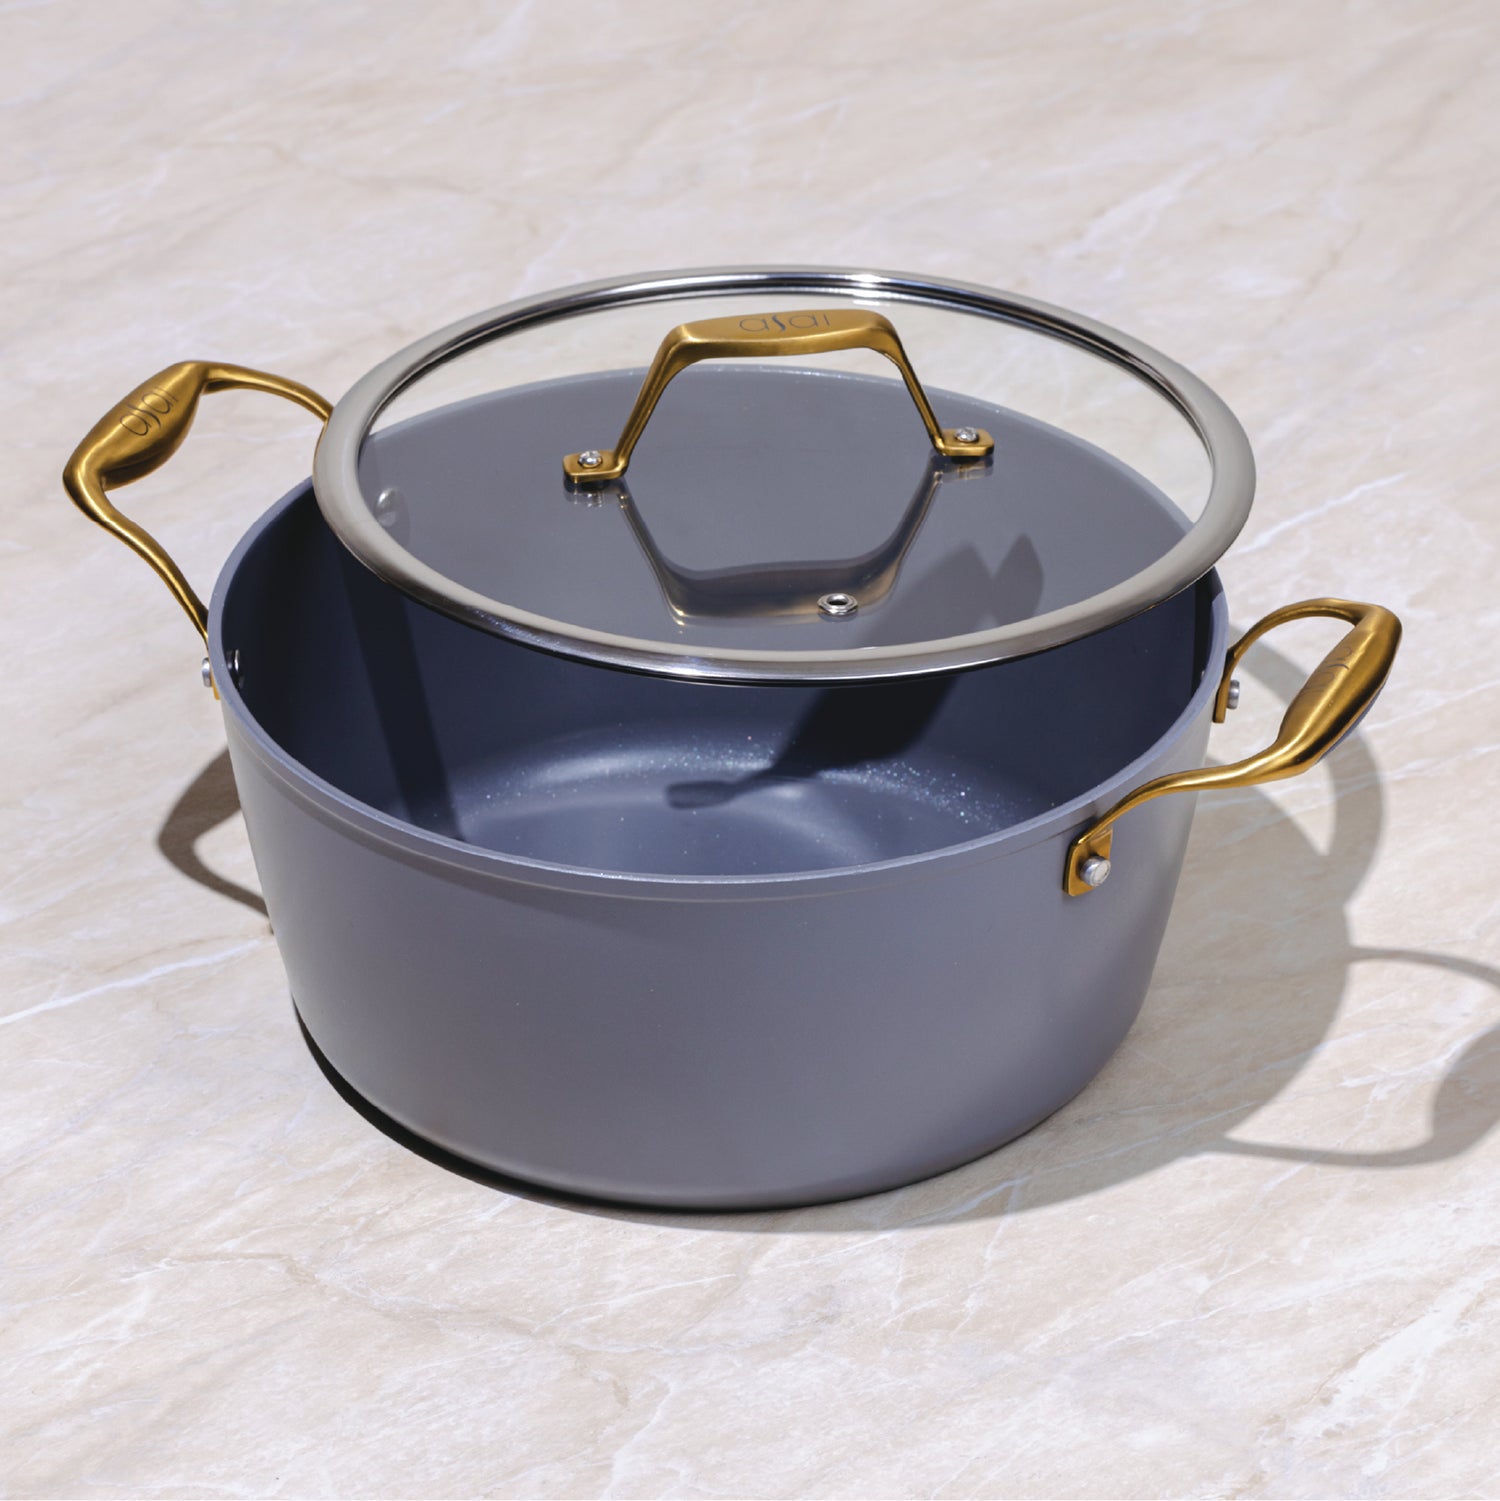
Ofcourse the most important step is to chose an apt ceramic dutch oven. Asai’s ceramic Dutch oven is the ultimate companion for roasting chicken to juicy perfection with a golden, crispy skin. Its thick, toxin-free ceramic walls lock in steady, even heat, ensuring the bird stays tender inside while developing that crave-worthy crunch on the outside. The tight-fitting glass lid traps natural juices when you need slow, succulent cooking, and then comes off to let the roast finish with a satisfying crisp.
Getting the Skin Crispy and the Meat Juicy
Here’s why the method works: Roasting with the lid on traps all the steam, so the meat gets super juicy. Finishing with the lid off at a high temp tightens up that skin, making it extra crispy without drying things out. This is where a ceramic-coated Dutch oven helps—consistent heat gives the chicken skin that even golden crunch, so you’re not getting patchy or burnt spots [1][3].
Tried-and-True Tips for Foolproof Results (and What to Do If Things Go Wrong)
- Skin still not crispy enough? Take off the lid sooner, or blast it under the broiler for a couple minutes (but don’t walk away—burning happens fast).
- Dry chicken? You probably overcooked it—next time, don’t guess. Use a thermometer.
- Want more flavor? Try a quick brine overnight, or just add extra aromatics in the pan.
- Oven runs hot or cool? Rotate the Dutch oven halfway through to even things out—or, if you have a ceramic Dutch oven, its heat retention helps smooth out those cook times.
- And if your veggies in the bottom seem a little pale? Let them cook on the stovetop for a minute after taking out the chicken to caramelize.
Ways to Enjoy Your Roast Chicken (and Leftovers)
You don’t need me to tell you roast chicken is the star of a proper Sunday dinner, but what’s really awesome is all the ways you can riff on it.
- Shred leftovers for lunch salads, sandwiches, or toss into a soup.
- Save the bones and scraps for homemade stock—honestly, it’ll smell better than most candles.
- Or just reheat and eat. Some things really are that simple.
Your Roast Chicken Questions, Answered (FAQs)
A: Roasting with the lid on keeps all the moisture locked in, so your chicken stays tender, not dry. The final blast uncovered crisps up the skin to perfection.
A: Ceramic-coated Dutch ovens are ideal because they distribute heat evenly and help prevent sticking, but any heavy Dutch oven will work for roasting a whole chicken.
A: The best way is to use an instant-read thermometer in the thigh; when it reads 165ºF, your chicken is perfectly cooked—no guesswork required!
A: Totally. Ceramic-coated Dutch ovens heat evenly and nothing really sticks, so you get cleaner flavor and less mess.
A: Roasting covered for most of the time is the trick (especially with heavier Dutch ovens that lock in steam). That’s the difference between dry pizza-topping chicken and real-deal, juicy meat [3].
A: Trussing stops the wings and legs from burning while the rest cooks, and helps the whole bird cook at the same pace.
A: Use an instant-read thermometer. You want 165ºF in the thigh, not a second longer [1][4].
Conclusion
If there’s a single kitchen move I could teach every friend (and you, honestly), it’d be how to roast a whole chicken in a Dutch oven for juicy, crispy results. Just think: golden, crunchy skin, juicy meat, all in one pot, with veggies to boot. And if you use a ceramic-coated Dutch oven, you’ve basically got a built-in guarantee of tenderness and that deep, even color.
So, next time you want to impress—or just feel like you nailed dinner—grab your Dutch oven and give this a shot. Simple, classic, and always crowd-pleasing. Seriously, what more could you want?
Ready to master perfect roast chicken? Grab that Dutch oven. You (and your tastebuds) won’t regret it.
Sources:
- So Much Food Blog – https://somuchfoodblog.com/dutch-oven-roast-chicken/
- Bowl of Delicious – https://www.bowlofdelicious.com/lemon-garlic-and-rosemary-whole-roast-chicken/
- An Edible Mosaic – https://www.anediblemosaic.com/dutch-oven-whole-roast-chicken-recipe/
- Cooking For My Soul – https://cookingformysoul.com/dutch-oven-whole-roast-chicken/
- The Pioneer Woman – https://www.thepioneerwoman.com/food-cooking/recipes/a41169696/dutch-oven-roast-chicken-recipe/
- Food52 – https://food52.com/story/28164-best-cooking-technique-for-fall


